Right Settings for Your WordPress Website
When you have installed WordPress on your Website. Most of the default settings with WordPress are perfect for beginners but you need to review certain settings on your website for ensuring that your website performs at the optimum level. Review all the menu items on the left side bar in your WordPress dashboard to ensure that all the settings are filled out properly.
WordPress Web Site General Settings
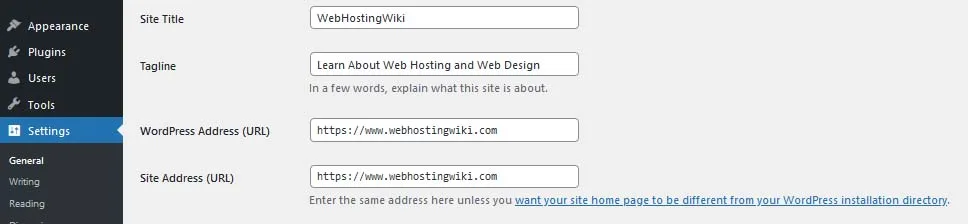
Always enter the name of your website and tagline under Settings > General. It is also here that you set timezone of your website and certain other elements as per your preference.
Writing Settings
Next go to Settings > Writing and scroll towards the end of the page and there you will see the Update Services. Here you can add additional list of update services which you can get from the internet. The update services you list here will be notified every time your site is updated.
Reading Settings

And from Settings > Reading, you ensure that your blog is set to show the latest posts. And not a static page unless you have good reasons to make a static page as your home page. This is for a reason. Imagine some other bloggers land on your website and they find a static page. They will assume that your website has not been updated for a long time. Because there is no fresh content on the static page. They might leave your website assuming this.
Your settings should show fewer number of posts like 5. However, the RSS feed should be configured to show more number of posts, like 44. Do ensure twice that the filed Search Engine Visibility is unchecked. There is absolutely no reason that, You would want search engines to not index your website for showing in search results.
Discussion Settings
Under the Setttings > Discussion, you need to allow your visitors to comments on new articles. They should fill out their name and email. Also enable threaded comments. In order to discourage spam. You would want to approve all comments manually and be notified whenever a new comment is posted on your website.
From default Avatar, you should choose Gravatar. Most of the people register their avatar at Gravatar. You can also make your own avatar by going to Gravatar.com and register using the same email address that you used for your website. Also do not shy away from uploading your headshot so that your blog visitors may attach a face to your name.
WordPress Website Permalinks Settings
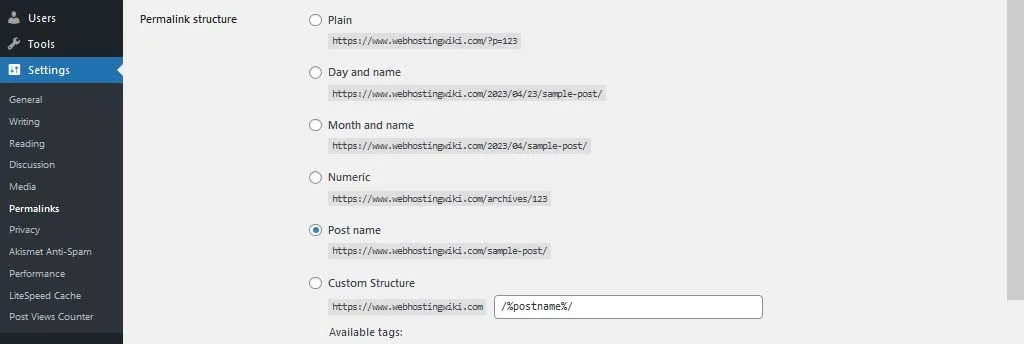
From Settings > Permalinks, we need to ensure that your URLs are set to be SEO friendly and are configured in this format:
Post Name – https://www.yourdomain.com/sample-post/
You should not be using the default permalinks which are like ?=123 and you should use the Post Name style because it is important for your website SEO that you include keywords for the page in your URL. And it is also helpful for your readers to improve clickthroughs to your website. While the above URL is quite clear, the default one like http://www.yourdomain.com/?p=964 could be any topic under the sun.