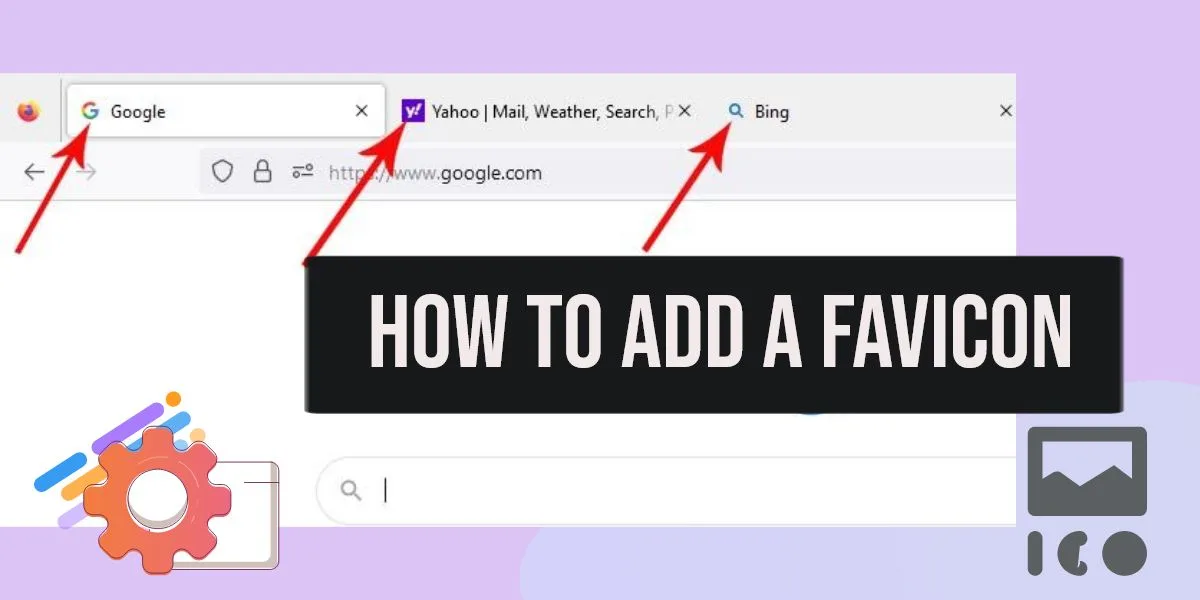
How to add a favicon to a website
A Favicon ( Favorite Icon ) is the small image you see before a website link in your address bar. If you are using a tabbed browser you can see it at the beginning of the tab or if you use bookmarks you can see at the beginning of the bookmark. It’s a small image file and adding one to your blog or website is very very easy.
Which is why I’m surprise at the number of blogs and websites that haven’t added a favicon yet. In this post I will show you how to create a favicon easily and for free, and how to add it to your blog or website. It might be not a big thing but it will help your blog to stand out from the rest and give it a slight edge with the competitors.
Why you should add a favicon ?
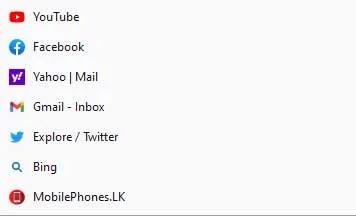
The image above shows exactly why you should add a favicon to your blog or website. Notice how some links stand out in the book marks list. Similarly they stand out when someone is working with lots of tabs as well. It also improves your websites stickability and branding power.
You might be thinking is it really worthwhile to fight for that attraction in a bookmarks list. If someone has bookmarked your website or page he is probably gonna visit it again anyway.
Well that is not always the case, it could be a hastily done bookmark from a plug-in like “Read it later” in Firefox, and when he or she is back to check on the bookmarked pages having a favicon makes sure your post gets maximum attention.
And it does look nicer than having no favicon at all. And the best reason is that you can easily do it in 5-10 minutes. Its even more effective if you can add a animated favicon.
How to create a favicon
If you don’t know any image processing creating a favicon can be a daunting task , but luckily for you and me there are plenty of tools available in the internet where you create a favicon for free and some websites let you host them for free as well.
Wants part of the image as the favicon
If you want to cut crop and resize an image before you create your favicon then Genfavicon is my preferred choice. They let you upload an image and have an easy to use preview where you can resize and crop your image. You can set your preferred favicon size as well. 16 x 16 is the standard size used by many.
Listed above are my personal favorites but there are plenty of other sites that provides the same service.Type “free favicon generator” in Google and you can find many other websites that generates favicons for you.
How to add it to your website
Now that you created your favicon its time to add it to your website or blog. All you have to do is add the following simple HTML line in your header section.
<link rel='shortcut icon' href='your favicon URL' type='image/x-icon'/ >Your URL is the path to the newly created ico file ( eg:- http://yoursiteurl.com/favicon.ico ). Now check your website and enjoy your newly added Favorite Icon. If it is not showing it could be that your browser is still showing the previous cached page, clearing the cache will solve the problem.
If your using self hosted WordPress user there are plugins which helps you to add a favicon. All you have to do is install the plug-in and follow the simple instructions like uploading the picture etc. Also some wordpress themes provide a option to add it easily directly from theme options .
Things to consider when adding a favicon
Although it is easy to add a favicon you should spend some time choosing a suitable one. Below are few things you should consider when choosing one.
- It should be recognizable – Typing a long word in a square and making it a 16 x 16 image will make it unrecognizable. A picture with lots of details is also not suited for this.
- Related to your website or brand – Although this is not necessary this helps in creating your won identity. Twitter and Youtube are good examples for using favicons to improve there identity.